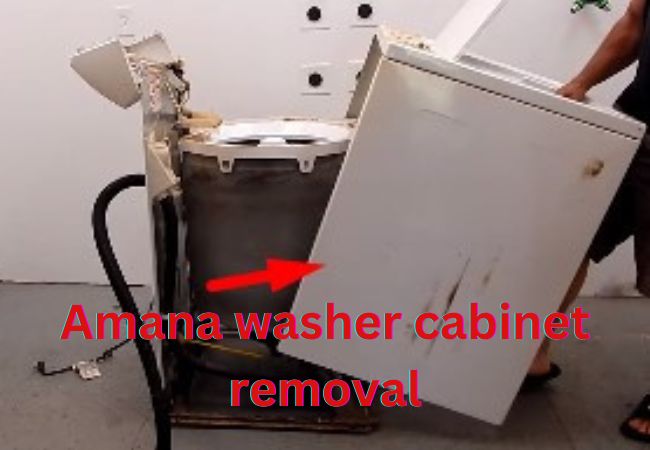
Amana washer cabinet removal is crucial when you need to repair components like the motor, transmission, lid switch, or motor coupler.
In that case, you simply need to access the inner workings of your machine. To do that, you’ll first need to remove the cabinet.
But how? Don’t worry, we’ll let you know how to do it. It’s very straightforward like you need to,
- Loosen the control panel screws on the back of the machine.
- Carefully flip over the control panel.
- Disconnect the lid switch wires.
- Pop out the cabinet clips with a flathead screwdriver.
- Lift and remove the cabinet from the base.
Anyway, In this guide, we detail the process of removing the cabinet from your amana washer. So, stick with these processes till the end.
How to remove the cabinet on an Amana washer
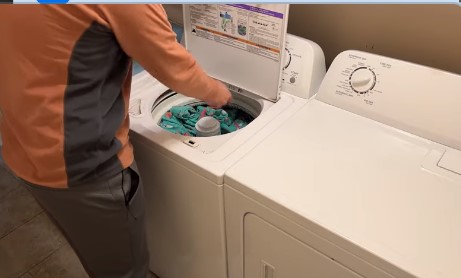
When you need to get access to the inner parts of your Amana washer, you should remove the cabinet from the washer.
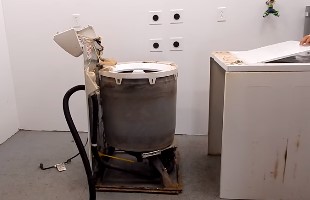
After removing it, you can explore the water valve, pressure switch hose, transmission, motor, and clutch assembly.
Anyway, let’s go through the process of your Amana washer cabinet removal.
Amana washer cabinet removal
First, collect some materials you require to remove the cabinet. You’ll want to have the following items on hand:
- Screwdriver (usually a Phillips’s head)
- Flathead screwdriver
- Safety gloves
- Safety glasses
- A little bit of time and patience
Step 1: Safety First
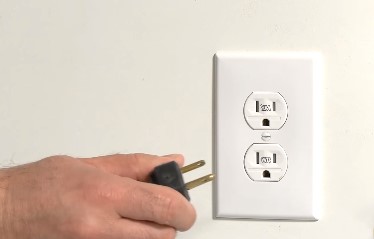
Safety is crucial, so always start by ensuring your Amana washer is safely unplugged from the wall.
Electricity and water don’t mix well, and we want to avoid any accidents. Once you’ve done that, let’s move on to the next step.
Step 2: Loosen the Control Panel Screws
At the back of your Amana washer, you’ll find two screws holding the control panel top down to the machine- one on the left and one on the right.

- Grab your screwdriver and gently loosen these screws. They won’t come all the way out; they just need to be loosened.
Step 3: Flip Over the Control Panel
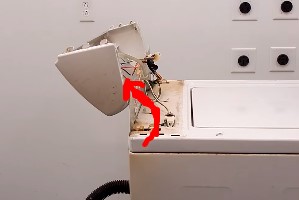
Now that you’ve loosened the screws, you can gently roll over the control panel top.
This step will grant you access to the inner workings of your washer.
Step 4: Disconnect the Lid Switch
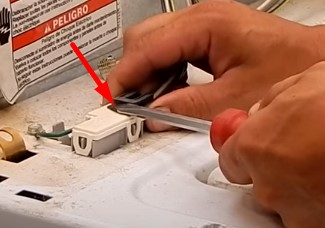
Once the control panel is out of the way, locate the lid switch. You’ll need to disconnect it and move it aside to proceed.
- Carefully disconnect the lid switch wires. Ensure to remember how they were connected; you’ll need to reconnect them later.
Step 5: Remove the Cabinet Clips
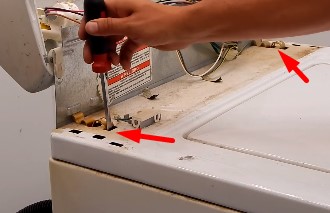
- With a flathead screwdriver, carefully pop out the clips that secure the cabinet to the base. There’s one on the left and one on the right side.
Once these clips are removed, the cabinet will be free from the base of the washer.
Step 6: Lift and Remove the Cabinet

- Lift the washer’s lid and grab the lip of the cabinet.
- Gently rock the cabinet forward, and then pull it out. Be cautious during this step to prevent any damage or mishandling.
Step 7: Explore the Inner Components
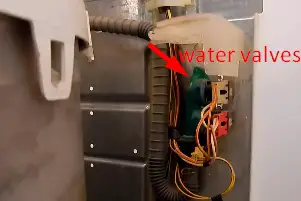
Now that you’ve successfully removed the cabinet, you can explore the inner components of your Amana washer.
You’ll be able to see the water valve, the pressure switch hose, the transmission, and the motor.
This will help you diagnose and address any issues with these components.
Step 8: Reassembly
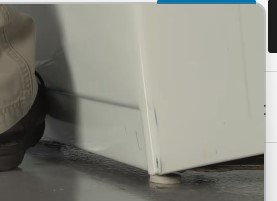
Once you’ve completed your repairs or maintenance, simply reverse the steps to reassemble your Amana washer.
- Slide the cabinet back onto the base, secure it with the clips, reconnect the lid switch, and tighten the control panel screws.
Don’t forget to plug the washer back in, and you’re good to go!
Conclusion
Learning the Amana washer cabinet removal process is a skill that you should have.
It provides you with the ability to troubleshoot common Amana washer issues, such as motor problems, lid switch malfunctions, and transmission glitches.
So, go ahead, remove the cabinet, access the inner components as you need, and tackle those issues with confidence! Thanks for reading, and happy repairing!
Leave a Reply