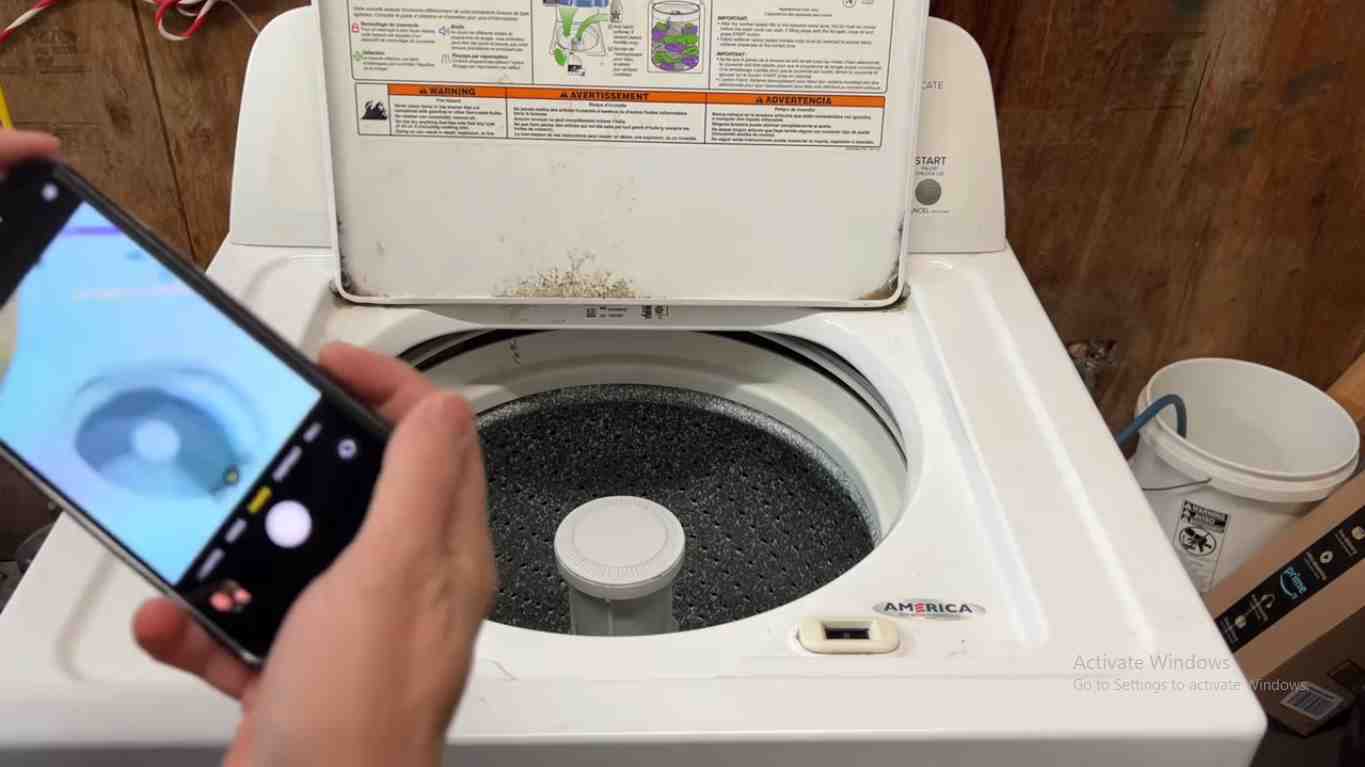
Is your washing machine giving you a mini earthquake every time it enters the spin cycle?
The buzzing noise of your amana washer tells you that you are having Amana washer off-balance problem
Turns out, the washer is not turning on.
But fear not, because we’ve got you covered! In this guide, we’ll take you through the step-by-step process of diagnosing and fixing an off-balance washing machine. Say goodbye to that dance routine and hello to smooth and stable laundry days!
Why do Amana washer keeps going off balance
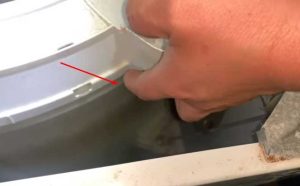
To determine if your washing machine’s balance ring is bad, start by visually inspecting it for any physical damage such as cracks or leaks.
Look closely for any signs of wear and tear. If you don’t notice any visible issues, it doesn’t necessarily mean the balance ring is in perfect condition, but it’s a good starting point.
Next, listen for any movement inside the balance ring when you rotate it.
While it may not feel like enough movement to counterbalance an unbalanced load, a little internal movement is normal. The balance ring contains fluid or counterweights, so hearing some slight movement is expected.
Check for any signs of fluid leakage from the balance ring
Carefully examine the ring for any dampness, drips, or visible fluid leaks. If you notice any water leaking out from the bottom, it’s a clear indication that the balance ring is damaged and needs to be replaced.
Perform a weight test:
To get a better idea of the balance ring’s condition.
Find an object with a known weight, such as a dumbbell, and compare the resistance you feel when rotating the balance ring to the weight of the object. Although this method isn’t foolproof, it can give you a rough estimation of the balance ring’s effectiveness.
How to fix Amana washer off balance
Safety First: Precautions Before Getting Started
Before we dive into the repair process, let’s prioritize safety. Follow these precautions to ensure a secure working environment:
- Disconnect the appliance or turn off the breaker to avoid electric shock.
- Wear protective gloves to safeguard your hands from sharp edges.
- Take note of the model number for reference during the repair.
- Keep in mind that different models may have slight variations in the repair process, so consult your washing machine’s manual if needed.
Step 1: Removing the Top Panel
To get started, we need to remove the top panel of the washing machine. This will allow us access to the shocks that need replacing. Follow these steps:
- Disconnect the washer from the power source.
- Locate the screws securing the top panel
- Use a screwdriver to remove these screws, keeping them in a safe place.
- Once the screws are removed, carefully lift and tilt the top panel forward to release the hooks securing it.
- Slowly slide the top panel backward to remove it completely.
Step 2: Identifying and Removing the Faulty Shocks
Now that we have access to the shocks, let’s identify and remove the ones causing the imbalance. Here’s what you need to do:
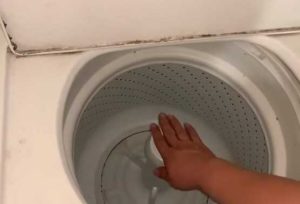
- Inspect the shocks by pushing down on the drum. If it bounces excessively, it’s a clear sign that the shocks need replacing.
To solve the drum loose problem during spin cycle read Amana washer drum dropped
- Using vice grips, carefully clamp the first shock to secure it.
- Lift the shock upward and remove any additional securing components, such as plastic pieces or screws.

- Once the first shock is detached, repeat the process for the remaining shocks, one at a time
Step 3: Installing the New Shocks
With the old shocks out of the way, it’s time to install the new ones and restore balance to your washing machine. Follow these steps:
Take the new shocks out of their packaging and familiarize yourself with their orientation.
Begin by installing the new shocks in the front of the machine. Align them correctly and secure them in place.
Repeat the installation process for the shocks at the back of the machine (see screenshot).
Ensure that all shocks are properly secured and aligned to prevent any future imbalances.
Step 4: Reassembling the Washing Machine
Now that the new shocks are in place, it’s time to reassemble your washing machine. Follow these steps:
Begin by carefully lowering the top panel back into position.
Slide the top panel forward to engage the hooks and make sure it is securely in place.
Retrieve the screws you removed earlier and use a screwdriver to reattach them to secure the top panel.
Check that all screws are tightened properly to avoid any loose parts.
Step 5: Finishing Touches and Testing
We’re almost done! Let’s complete the repair process and test your washing machine. Follow these final steps:
- If you taped the door during the repair, remove the tape.
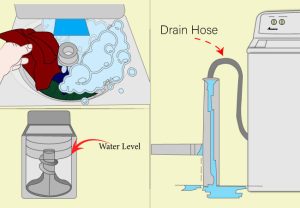
- Reconnect the drain line and water hoses if they were previously disconnected.
- Double-check that all connections are secure.
- Plug the washing machine back into the power source.
- Conduct a test run to ensure that the off-balance issue has been resolved.
At the end, you can now resolve the issue, if you need to know more read my another post Why my Amana washer shaking violently
Conclusion
While a faulty balance ring can contribute to an off-balance washing machine, it’s important to consider other factors as well. Make sure to check the leveling of your machine, ensure that the feet are adjusted correctly, and that the load inside the drum is evenly distributed. Sometimes, these factors can also cause imbalance issues.
If you’ve inspected the balance ring and are still unsure about its condition or if the problem persists after attempting other troubleshooting steps, it’s advisable to consult a professional technician. They have the expertise and tools necessary to diagnose the issue accurately and provide appropriate solutions.
Leave a Reply