The washing machine is a staple appliance, and the Kenmore 110 washer stands out for its durability and reliability.
This model comes with some valuable parts and these parts may be damaged or broken over time. In that case, you need help with your Kenmore washer model 110 troubleshooting process.
In this comprehensive guide, we’ll explore what is and how the Kenmore model 110 washer works, and its parts, and teach you the way to disassemble and troubleshoot the washer.
So, keep with us to learn more about the Kenmore model 110 washer.
Kenmore washer model 110 troubleshooting
While the Kenmore washer is designed to work seamlessly, occasional issues might arise.
But understanding how to troubleshoot and, if necessary, disassemble the washer can save you time and money on repairs.
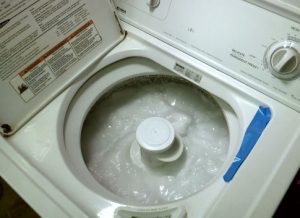
Kenmore model 110 washer won’t spin or drain
An uneven load can trigger the washer’s safety mechanism, preventing it from spinning, and turns out it causes draining problems. Rearrange the load evenly in the drum for balanced distribution.
If the drive belt connecting the motor to the drum is loose, damaged, or broken, it can prevent the drum from spinning. Examine the belt for any signs of wear or damage.
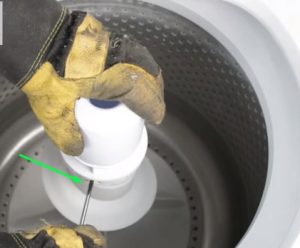
If the drain hose and drain pump isn’t positioned properly and clogged, the washer won’t spin or drain.
To fix it, check the drain hose, drain pump, pump filter, and water inlet valve for issues. Check for any obstructions in the drain line to prevent the washer not to drain.
Washer Fails to Fill with Water

If the water supply valves are not fully open, the washer won’t fill. Clogged filters in the water inlet valve can also restrict water flow.
Another vice-versa situation would be the washer continuously filling and to troubleshoot it read why do washer is filling with water.
- Verify that water supply valves are fully open and hoses are not kinked.
- Inspect the water inlet valve for clogs or defects and replace the water inlet valve if it is completely damaged.
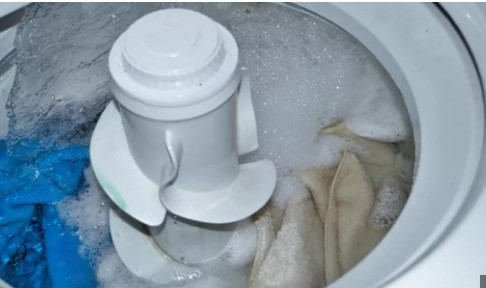
Kenmore washer “OE” Error Code 110 model (Drainage Issues)
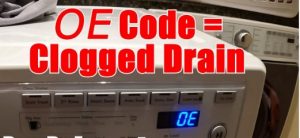
The OE error code of Kenmore washer will let you know about the clogged draining issue.
Blockages in the drain hose, clogs in the pump filter, or a malfunctioning drain pump can lead to drainage problems.
- Check the drain hose for any blockages or kinks.
- Clean the pump filter to ensure it’s not clogged.
- Inspect the drain pump for proper functioning.
Excessive Vibrations During Spin Cycle:
Improper leveling or the presence of shipping bolts (used during transport) can cause the washer to vibrate excessively.
- Ensure the washer is leveled properly.
- Check if the shipping bolts have been removed (if recently purchased or moved).
Leaking Water:
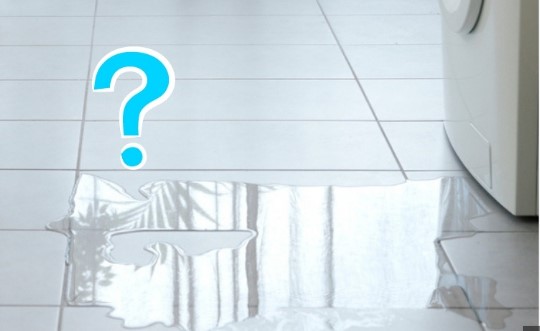
Leaks can occur due to loose hose connections, a damaged door seal (gasket), or a malfunctioning water inlet valve.
To fix it,
- Verify that hoses and connections are securely attached.
- Check the door seal (gasket) for any visible defects.
How to take apart a Kenmore washer model 110?
To troubleshoot any issues, you first need to disassemble the washer. Then find and take the faulty parts, check them, and repair or replace them if necessary.
So how to disassemble or take a part from the Kenmore washer model 110?
Follow the below sections:
Step 1:
Always unplug the washer from the power source before attempting any disassembly.
Step 2:
You’ll need basic tools such as a screwdriver, pliers, and possibly a socket wrench set.
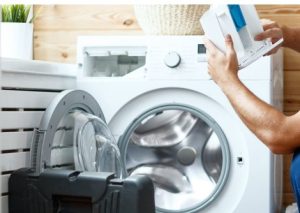
Step 3: Removing the Control Panel
Open the lid and locate screws securing the control panel.
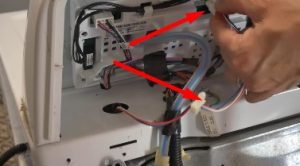
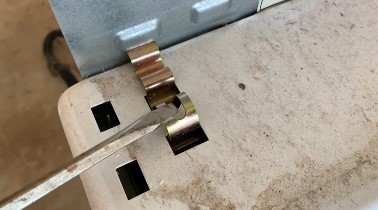
Remove these screws and gently lift the control panel to release it from the retaining clips.
Carefully disconnect wires and connectors while documenting their positions for reassembly.
Step 4: Accessing the Cabinet
Now access screws securing the cabinet to the frame. Remove these screws and lift the cabinet off the frame.
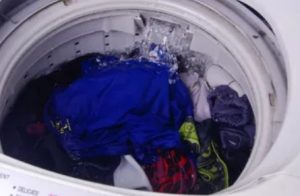
Step 5: Inspecting Components
With the cabinet removed, you can access the inner drum, motor, pump, and other parts.
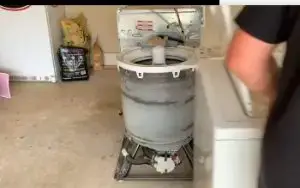
Depending on the issue, inspect and clean components, looking for obstructions or visible damage.
Step 6: Reassembly and Testing
Reconnect wires, hoses, and components according to your notes or photos.
Secure screws and fasteners properly for safe reassembly.
Plug the washer back in and run a test cycle to ensure all components are working as intended.
Conclusion
The Kenmore washer is a reliable and efficient appliance. But some issues can disrupt its performance.
By understanding common problems, Kenmore washer troubleshooting, and learning how to disassemble the washer safely, you can take possible steps to keep your laundry routine running smoothly.
Remember to consult your owner’s manual to get specific information for your used model.
With the right knowledge and approach, you can extend the life of your Kenmore washer.
Leave a Reply