If you own an Amana washer, you probably appreciate its efficient cleaning capabilities. However, over time, even the most reliable washing machines might require some maintenance to ensure they continue working at their best.
To clean your amana washer and for other troubleshooting reasons, you may need to remove amana washer agitator.
On the other hand, If the agitator is damaged or broken, removing it is the first step in replacing it with a new one.
How to remove Amana washer agitator
- Use a flat head screwdriver and a 7/16 socket and ratchet for the repair.
- Disconnect the power source before starting any repairs.
- Remove the agitator assembly by loosening the screw and lifting the auger.
- Use a new OEM replacement agitator assembly, including base, auger, can, and washer.
- Avoid over-tightening the screws and ensure everything is securely in place.
Step 1: Unplug the washer
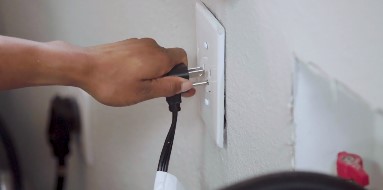
Before you start any repair work on your washer, always prioritize safety. To do this, disconnect the power source by unplugging the washer from the electrical outlet or turning off the circuit breaker.
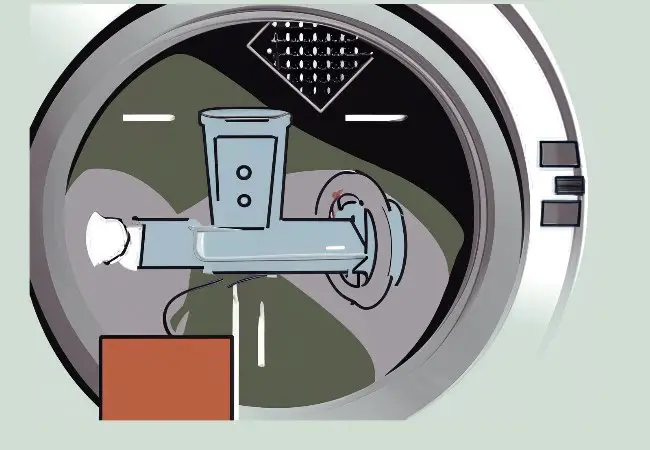
Step 2: Access the Agitator
Remove the cabinet of Amana washer to access the agitator assembly. Different Amana washer models may have slight variations, but the overall process remains similar.
Step 3: Remove the Fabric Dispenser
If your washer has a fabric dispenser on top of the agitator, remove it first. Look for a clip on the side of the dispenser, press it, and lift the dispenser off.
Step 4: Loosen the Auger
Using a flat head screwdriver, gently push in on the tab holding the auger in place. Lift the auger to reveal a screw underneath it.
If you don’t screw up the agitator perfectly then you will need to troubleshoot Amana washer loose agitator.
Step 5: Remove the Screw
Grab a 7/16 socket and ratchet, and use it to loosen and remove the screw holding the agitator in place.
Step 6: Lift the Agitator
Once the screw is removed, lift the agitator assembly straight up to detach it from the base.
Step 7: Remove the Agitator Base
With the agitator assembly out, you can now remove the agitator base. If there’s a plastic ring on the base, take it off first, and then lift the base out of the washer.
Step 8: Install the New Agitator Assembly
Now that you’ve successfully removed the old agitator, it’s time to install the new one. If you haven’t already, obtain the correct OEM replacement agitator assembly for your specific Amana washer model.
Step 9: Place the Agitator Cap and Washer
Insert the agitator cap into the auger and ensure it drops securely into place. Then, position the agitator base over the central pipe and push it down firmly until it sits snugly.
Step 10: Reattach the Plastic Washer
Align the plastic washer with the four tabs on the agitator base and place it in position.
Step 11: Reattach the Auger
Lower the auger back into the agitator base, ensuring it aligns properly. If there are alignment slits, match them with the tabs on the base.
Step 12: Secure the Agitator
Reinsert the screw through the auger and tighten it using the 7/16 socket and ratchet. Be careful not to overtighten the screw.
Step 13: Reattach the Fabric Dispenser
Put the fabric dispenser back on top of the agitator base, making sure it clicks securely into place. I write another post on installing fabric dispenser of amana washer.
Step 14: Power Up and Test
Finally, plug in your washer back into the electrical outlet or turn on the circuit breaker. Test the washer to ensure the agitator is working correctly.
Can I remove the agitator from the top-loading Amana washer without any special tools?
Yes, you can remove the agitator from most top-loading Amana washers without requiring any special tools. However, having a socket wrench or an adjustable wrench will make the task easier. If you don’t have these tools, you can often use a pair of pliers or a similar tool to loosen and remove the agitator bolt.
My Amana washer’s agitator seems stuck in place. What should I do?
If the agitator appears stuck and won’t budge, try the following:
Ensure that you have removed any bolt or nut securing the agitator in place.
Gently rock the agitator back and forth to loosen it from the drive shaft.
If it’s still stuck, you can use a penetrating oil spray around the base of the agitator and let it sit for a while to help loosen it.
Utilize a rubber mallet or a block of wood to tap the agitator from the bottom, encouraging it to loosen.
If all else fails, consider using a specialized agitator removal tool, which can be found at most hardware stores.
Is there any maintenance required for the agitator after removal?
Once the agitator is removed, it’s an excellent opportunity to clean it and the surrounding area. Wipe away any accumulated dirt, detergent residue, or debris. Additionally, inspect the agitator for signs of wear or damage, and replace it if necessary. Regular maintenance can prolong the life of your washer and prevent potential issues down the line.
Can I remove the agitator from a front-loading Amana washer as well?
Front-loading Amana washers usually do not have a traditional agitator. Instead, they use a drum that tumbles the clothes to clean them. Therefore, you won’t find a central agitator in a front-loading Amana washer, and there’s no need to remove one. If you’re experiencing problems with your front-loading washer, refer to the user manual or contact Amana customer support for assistance.
Conclusion
By following this comprehensive step-by-step guide, you can successfully remove the agitator from your Amana washer. Regular maintenance and prompt repairs will keep your washer performing optimally, providing clean and fresh laundry after every wash cycle. Remember, if you ever encounter any difficulty or are unsure of the process, consult a professional technician to ensure the best results for your appliance. Happy washing

Leave a Reply